How to transfer volumes between projects
Step 1: Initiate the volume transfer
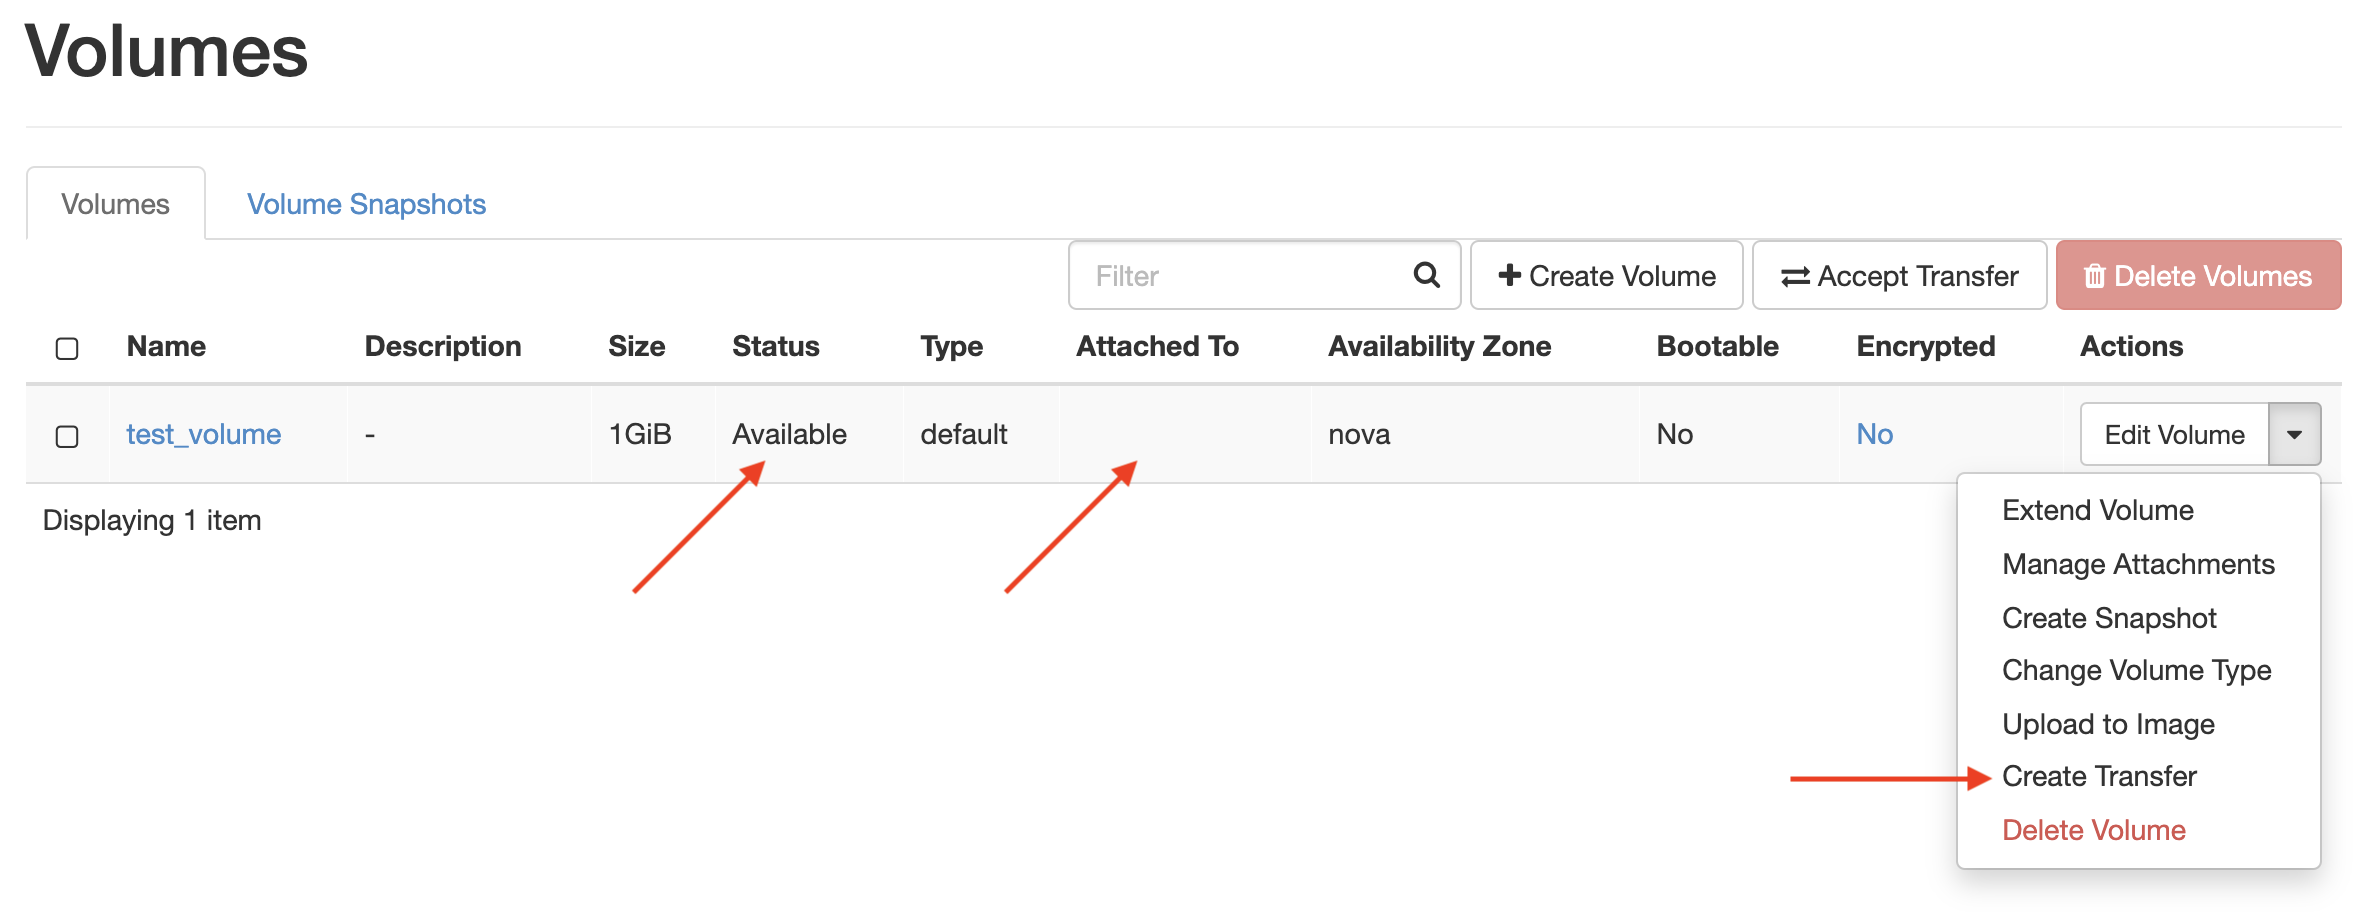
Go to the "Volumes" tab under the project that currently owns the volume and locate the volume in the list. Click the "Create Transfer" button under the dropdown arrow next to the "Edit Volumes" button to begin the process.
Warning
Only detached volumes with no snapshot that show "Available" as Status can be transferred. If the volume of interest has snapshots it can still be transferred but:
- the receiver cannot delete this volume;
- the sender can neither delete the snapshot nor create a new volume from it.
all the above requests return a generic error.
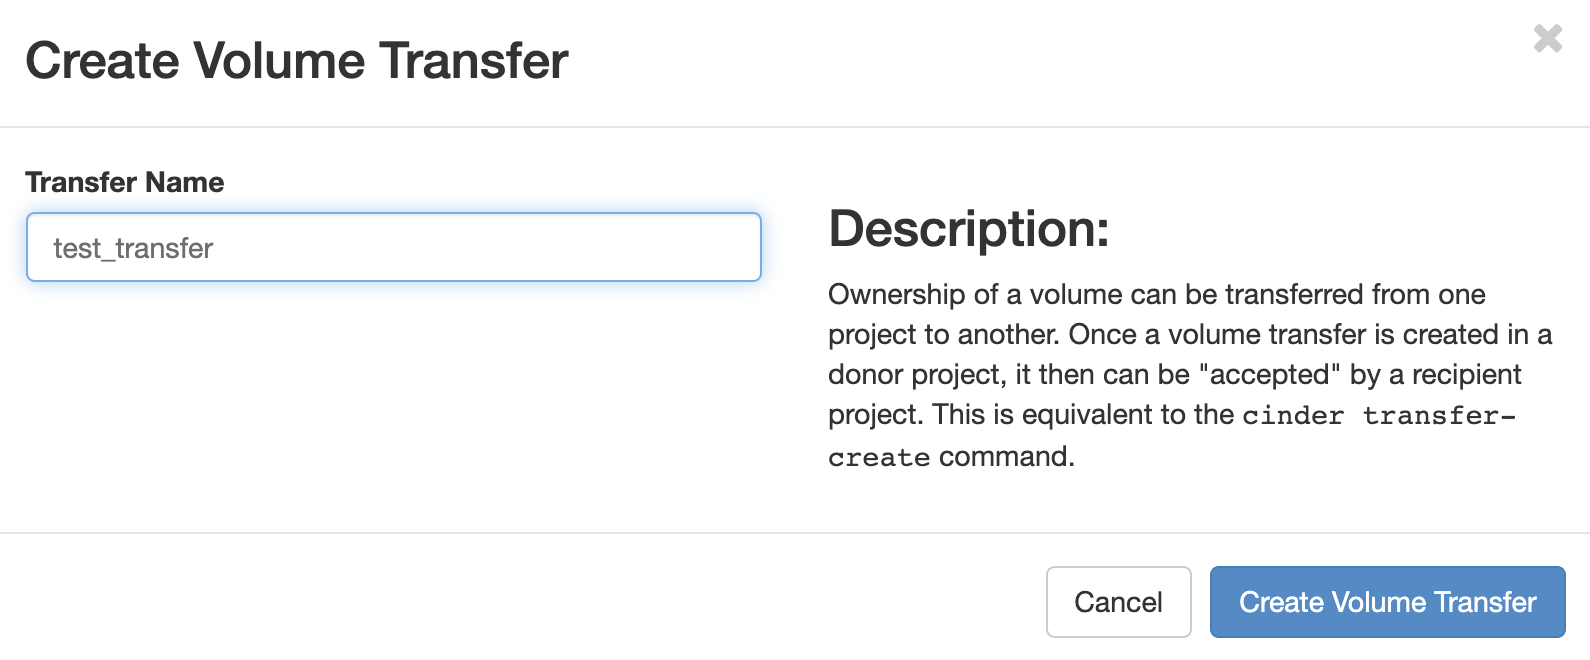
Step 2: Name the transfer
Provide a name for the volume transfer then click "Create Transfer".
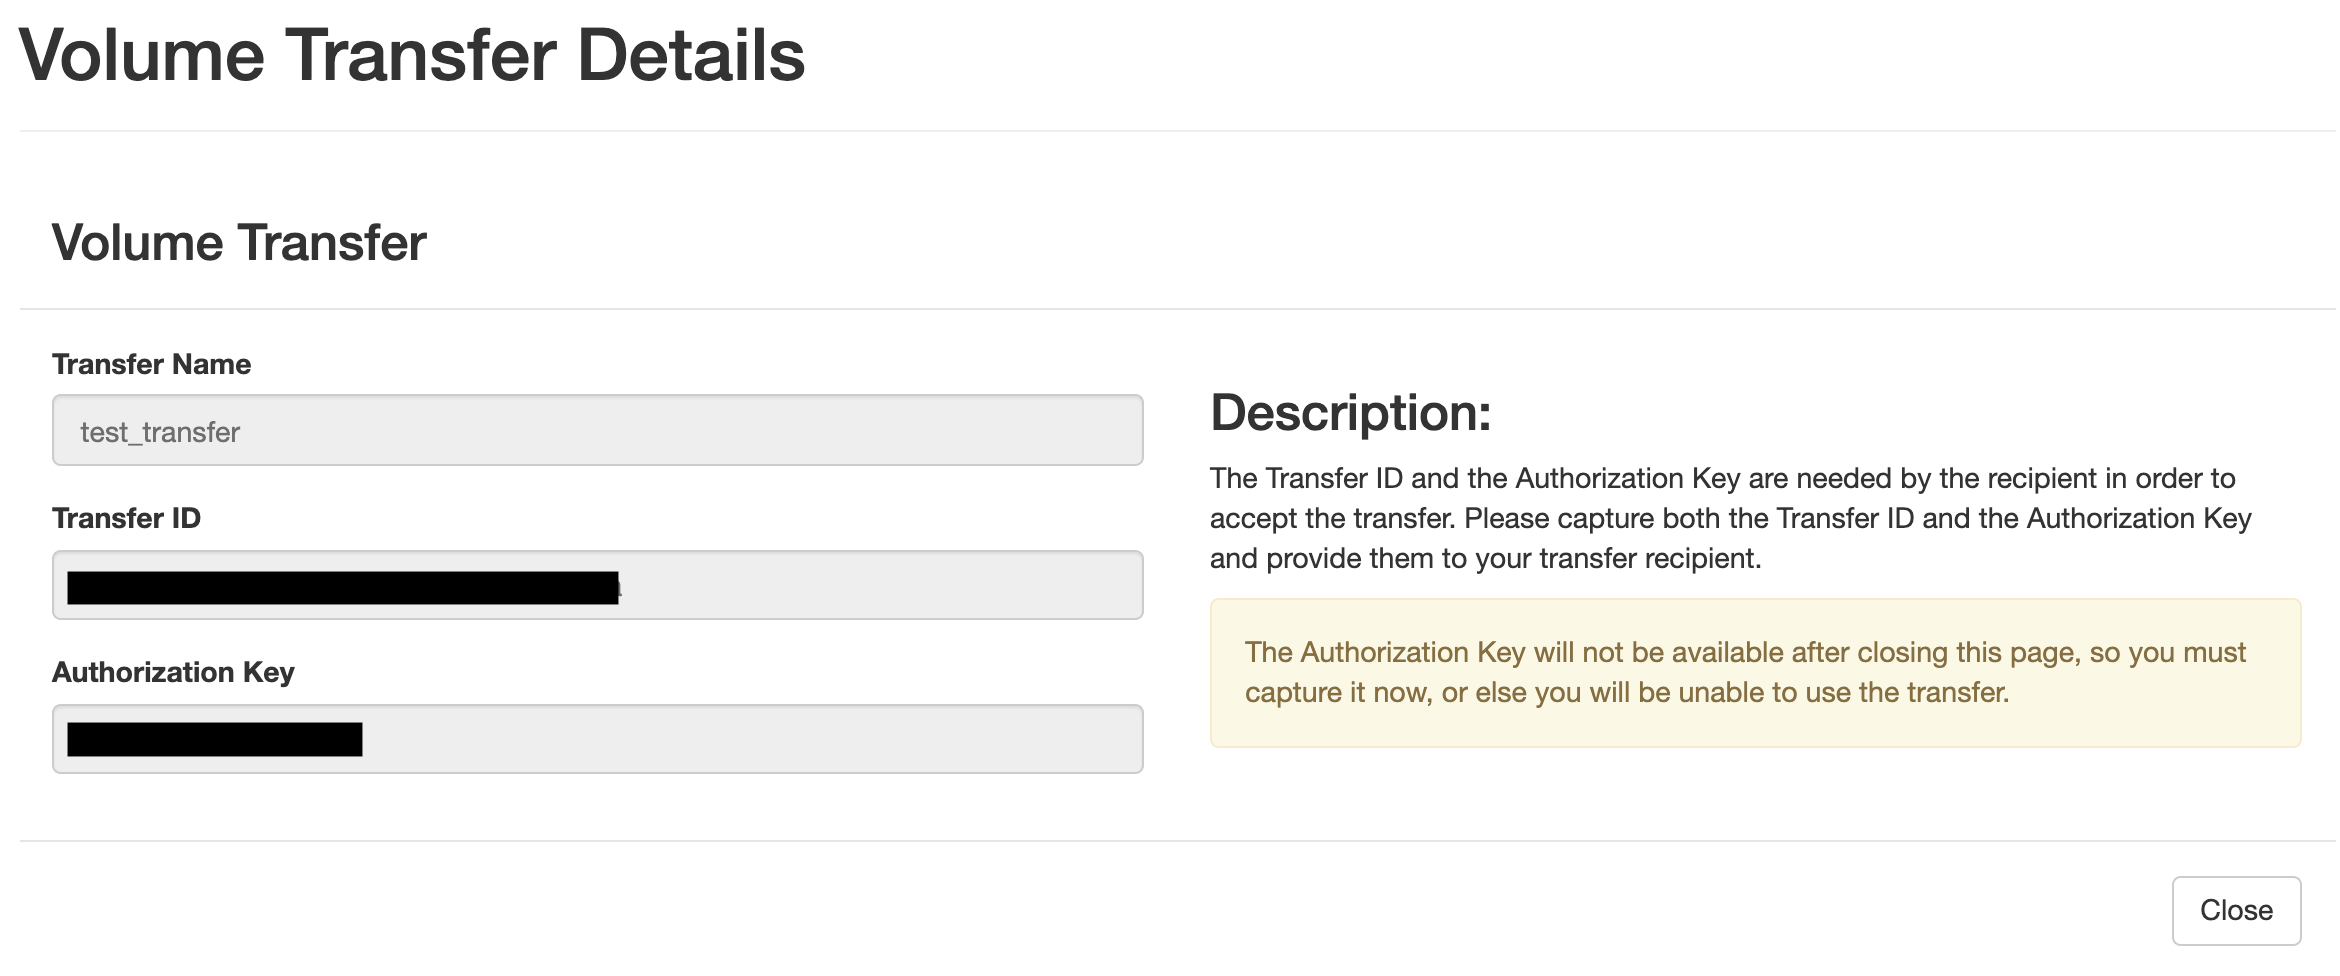
Step 3: Record the Transfer ID and the Authorization Key
Record the Transfer ID and the Authorization Key before you close the page. These details are required to complete the transfer.
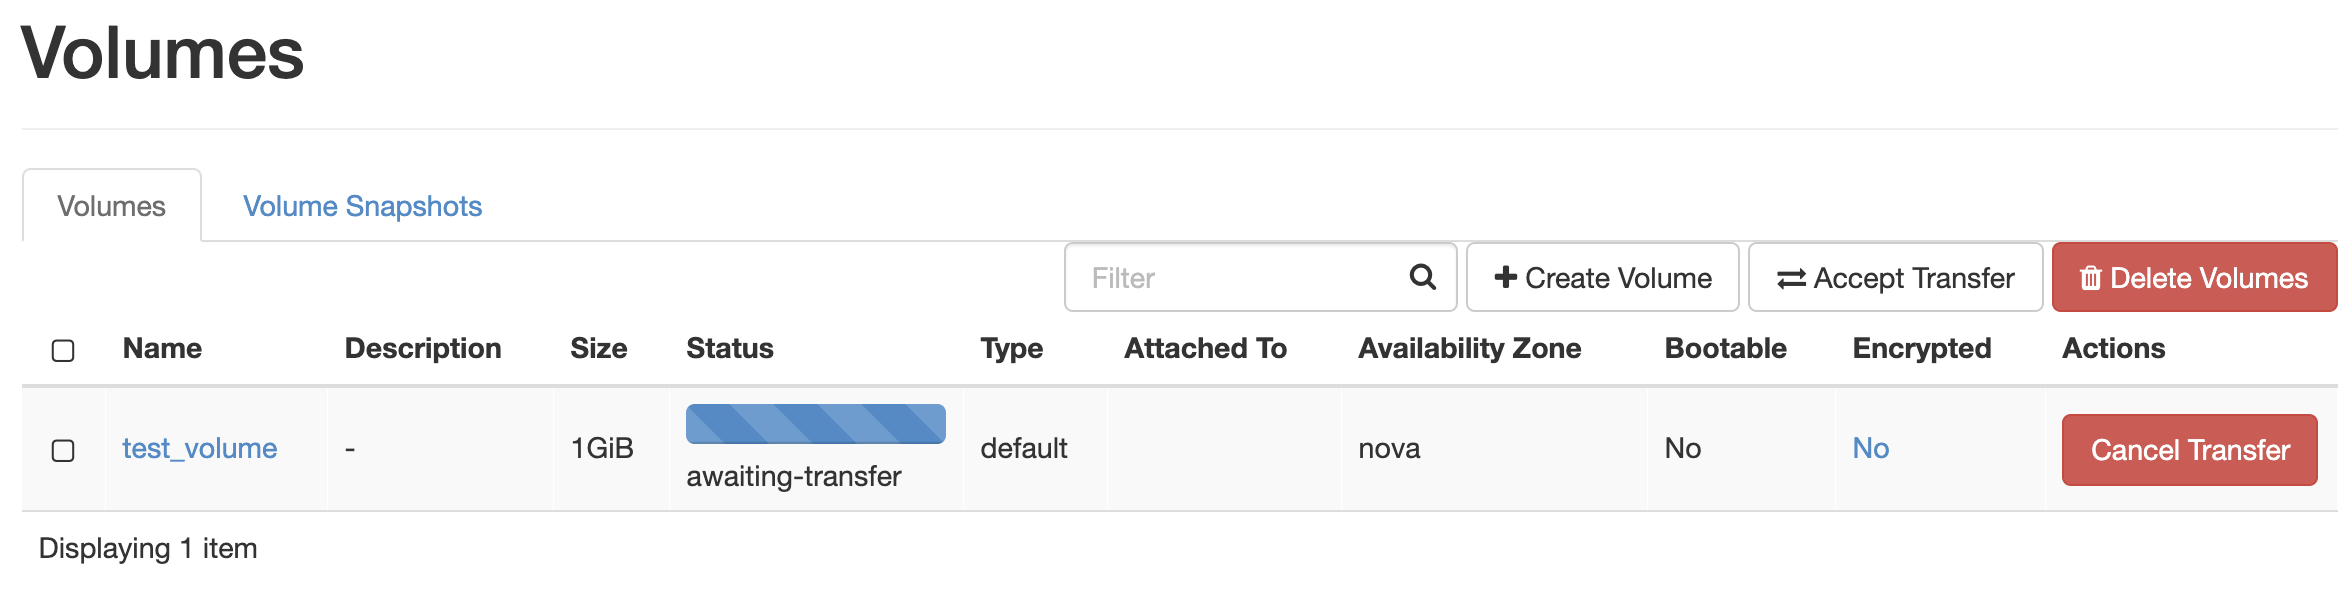
At this point the volume should show the "Awaiting-transfer" loading bar.
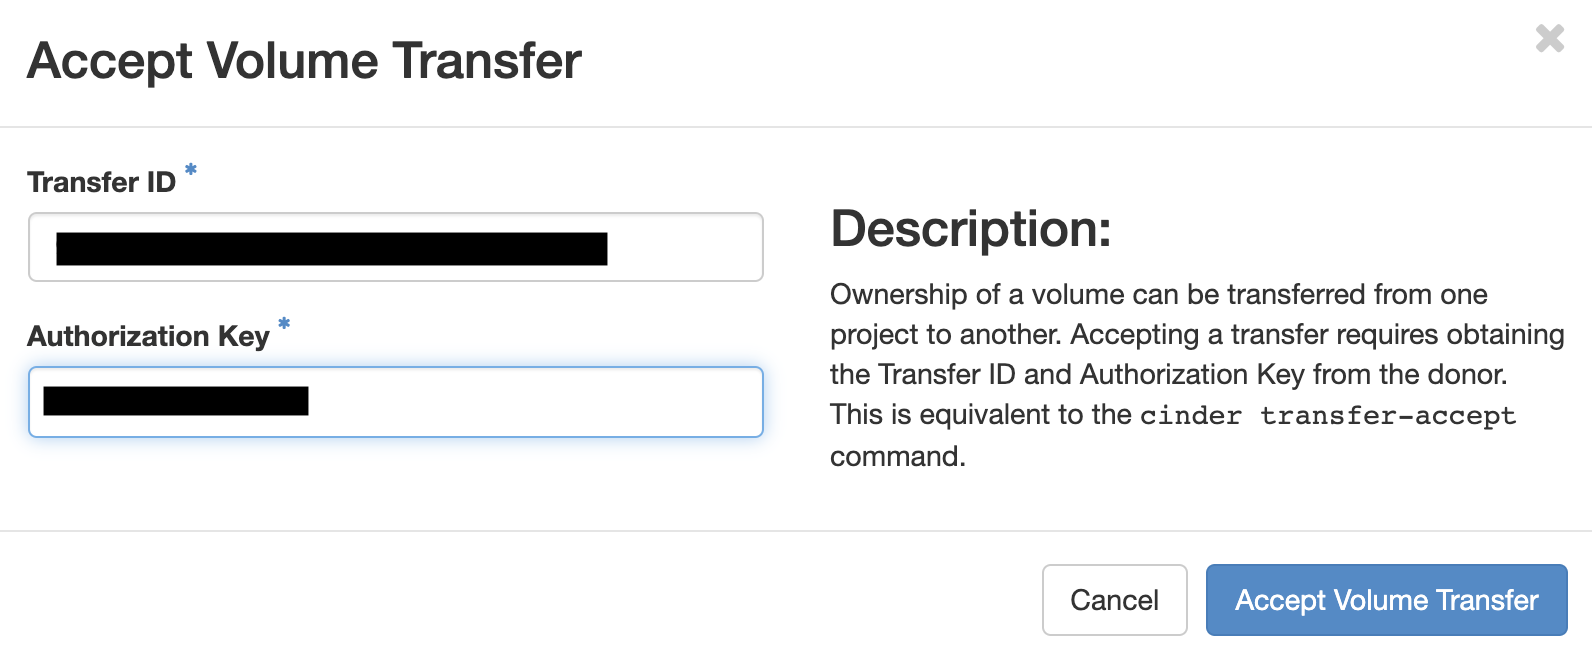
Step 4: Accept the volume transfer from the recipient project
Go to the ScienceCloud dashboard of the project that will receive the volume and click the "Accept Transfer" button.

A new window will appear titled "Accept Volume Transfer"; input the Transfer ID and the Authorization Key into these fields then click the "Accept Volume Transfer Button".
The volume should then appear in the recipient project and will be removed from the original project.
Warning
If the quota of the recipient project for "Volumes" or "Volume Storage" is exceeded the transfer returns "Error: Unable to accept volume transfer".
Alternate Option: Using the Command Line Tool
If you would prefer, you can instead use the OpenStack CLI tool to perform volume transfers. Directions can be found here.