How to move a Windows instance from "private" network to "uzh-only"
In 2016 we fixed an issue with Windows not being able to use the uzh-only network directly. As this issue is fixed, you can start a Windows VM with an interface on uzh-only network, and this is actually preferred to having floating IPs, if your use case doesn't really require a floating IP but just an IP in the UZH network.
Here are instructions on how to update the configuration of a running Windows VM so that you can switch from the floating IP to the uzh-only network.
Note
IMPORTANT: if you follow these instructions, the IP address of your Windows instance will change.
Getting started
Assume your windows virtual machine has an IP in a private network (10.172.23.22 in the example) and a floating IP in uzh-only network (172.23.176.30 in the example), as in the following picture:

Attach a new interface on uzh-only
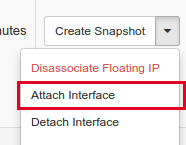
From the Actions menu of the instance, select Attach Interface
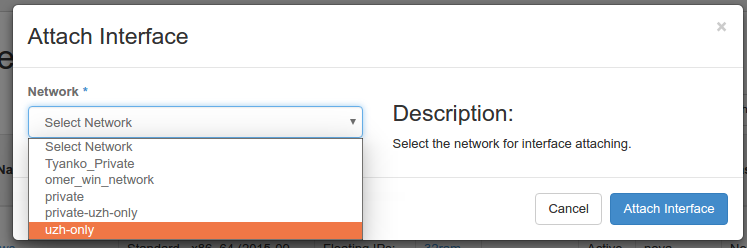
From the network menu, select uzh-only and then click on the Attach Interface button
A NEW IP in uzh-only network will be assigned to the VM. On Windows, a new network interface will appear, and the new IP will be automatically assigned to it.
Remove the interface on the private network
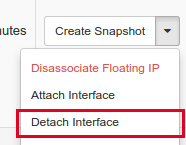
From the Actions menu of the instance, select Detach Interface
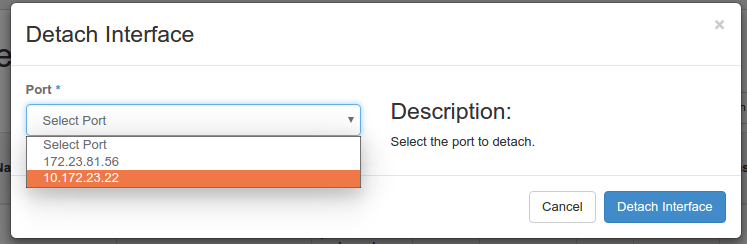
From the Port menu, select the old IP of the instance. It's likely to be an IP in the form 10.X.Y.Z, but this really depends on how you setup the networking when you started the VM for the first time.
At this point you will get back to the page with the list of instances. You might need to refresh the page to see up to date information. At the end you should see that your VM only has an IP address and no floating IPs:

Please note that this IP in uzh-only is different from the floating IP the VM had in the past.
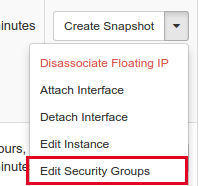
Update security groups
The new interface will only have the default security group associated with it. You might need, therefore, to add again all the security groups that were assigned to the old interface. Open the Actions menu again and select Edit Security Groups.
You will see a window like the following. As usual, select the security groups you want to be associated to the VM by clicking on the '+' plus sign next to it. Security groups associated to the VM are listed on the right, those available are listed on the left.
