Data Transfer with Cyberduck
Introduction
Cyberduck is a graphical user interface (GUI) application for Windows and macOS that allows you to easily access and manage different storage locations. With Cyberduck, you can connect to a volume of ScienceCloud instance, access files stored in ScienceCloud Swift containers, and access your ScienceCluster user space. It is especially useful when you prefer to manage your filesystems interactively rather than through the command line.
Download and install
Download Cyberduck for Windows or macOS from https://cyberduck.io/download/ and follow the installation instructions.
Alternatively, on macOS you can install it via Homebrew by running in the Terminal:
brew install --cask cyberduck
Connecting with Cyberduck
1. Add a bookmark
Start the Cyberduck application and click the “+” symbol in the bottom-left corner to add a new bookmark for a server.

2. Enter your connection settings
In the bookmark window, choose the correct connection type and enter the corresponding settings depending on the storage you want to access.
ScienceCluster file system (SFTP)
To access your ScienceCluster user space, choose SFTP as the connection type in Cyberduck.
- Server:
cluster.s3it.uzh.ch - Port: 22
- Username: UZH username
- Authentication: you can log in either with your Password (input UZH Active Directory (AD) password) or, if passwordless authentication is enabled, with your ssh Private key.
ScienceCloud instance file system (SFTP)
To access the file system of your ScienceCloud instance, use SFTP in Cyberduck.
- Server: the IP address of your ScienceCloud instance
- Port: 22
- Username: ubuntu (or debian, as configured)
- Authentication: leave the Password field empty and set the ssh Private key you use to log in to the instance from the terminal.
ScienceCloud instance volume (SFTP)
To access the volume of your ScienceCloud instance:
- Mount the volume to an instance. Ensure that the mount point has the right ownership, so your user (not just
root) can write to it, seechown. - Connect to ScienceCloud file system as shown earlier.
- Navigate to the selected mount point (e.g.,
/mnt) to view and manage the volume's contents.
ScienceCloud Swift Containers (Keystone)
To connect to your ScienceCloud Swift object storage, select OpenStack Swift (Keystone 3) as the connection type.
Connection parameters can be found in the respective ScienceCloud section.
3. Save and connect
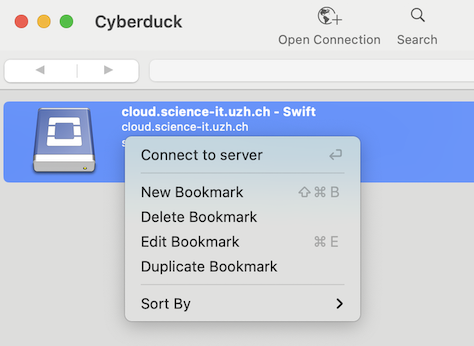
When all information is entered correctly, close the bookmark window. The new bookmark will now appear in your Cyberduck menu. To connect, right-click the bookmark and select "Connect to Server".
If everything is configured correctly, Cyberduck will display a listing of files and folders that matches the contents of your chosen storage.